
Draft. This manual is new and still growing. If something here does not match what you see in the software, the software is right — tell us and we will fix the page.
Getting started
The shortest path from nothing installed to a result you can read. No theory — that is Concepts, and it will make more sense once you have run something.
| Installation | System requirements, where things go, and how to check the install actually worked |
| Licensing and activation | The free tier's limits, activating a paid licence, working offline, moving machines |
| Your first simulation | A worked example from opening the application to a PDF report |
If you read one page
Your first simulation. It uses one of the nine bundled examples, so there is nothing to import and nothing to draw, and it goes end to end — mesh, run, post-process, report. The hull it follows still has to be meshed and solved, which takes a few minutes; the square duct meshes in seconds and runs in about one, if you would rather see the whole loop first.
Two ideas from it are worth carrying into everything else:
A case is one body and any number of studies of it. The geometry belongs to the case; the mesh, the physics and the run belong to a simulation inside it. That is what lets you compare two meshes or two turbulence models on the same body without copying anything.
The application writes an ordinary OpenFOAM case. Nothing is hidden. If you know OpenFOAM you can read every file it produces; if you do not, you never have to. Case directory layout shows exactly what lands on disk, so you can check that claim rather than take it.
Starting from your own geometry instead
New case on the home screen opens the Create Simulation wizard, which asks what you are analysing rather than which solver to use.
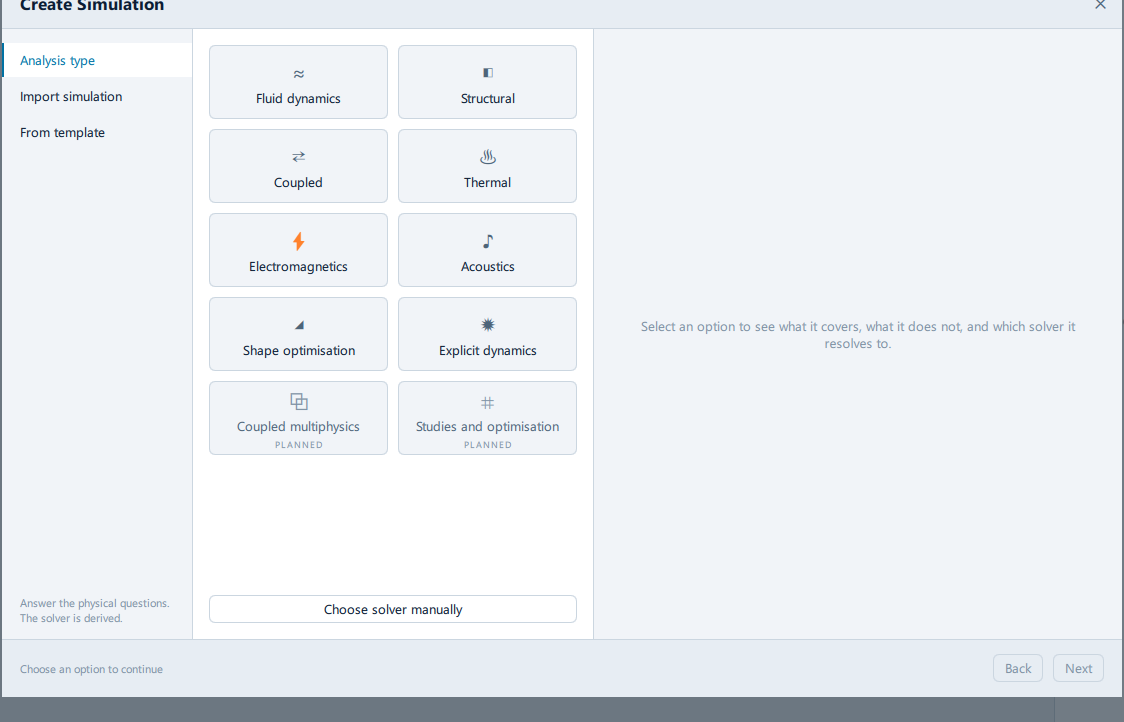
Import STEP geometry picks up from there.
Then
- Tutorials — full cases, start to finish
- How-to guides — one task at a time, once you know your way round
- Troubleshooting — indexed by the error on screen